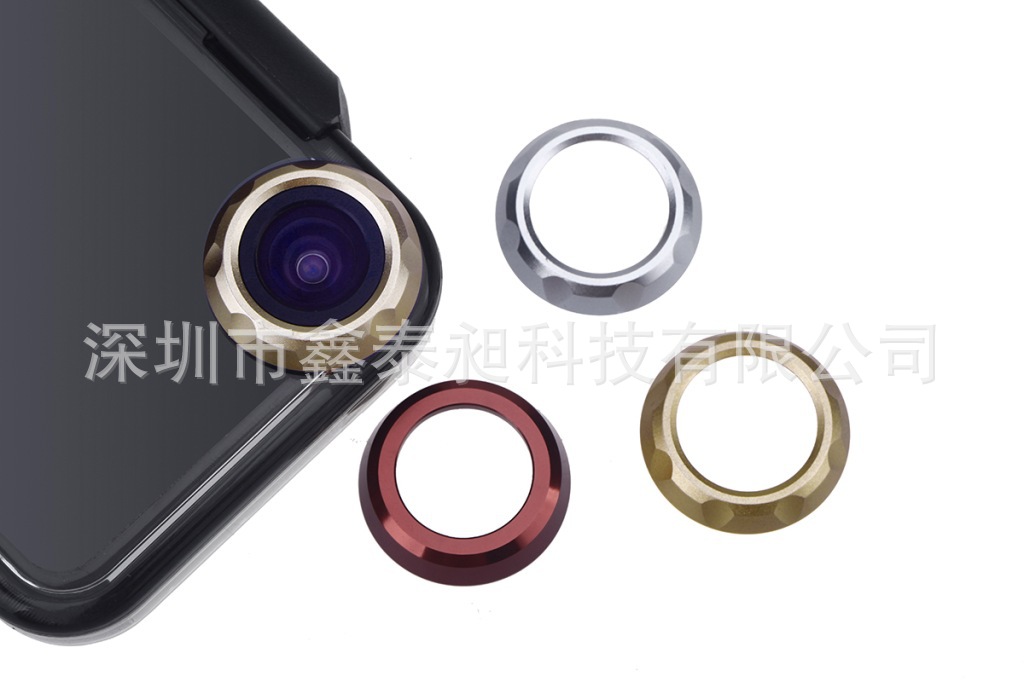


 生成海报
生成海报| 材质 | PC |
|---|---|
| 风格 | 运动 |
| 工艺 | 注塑/注射 |
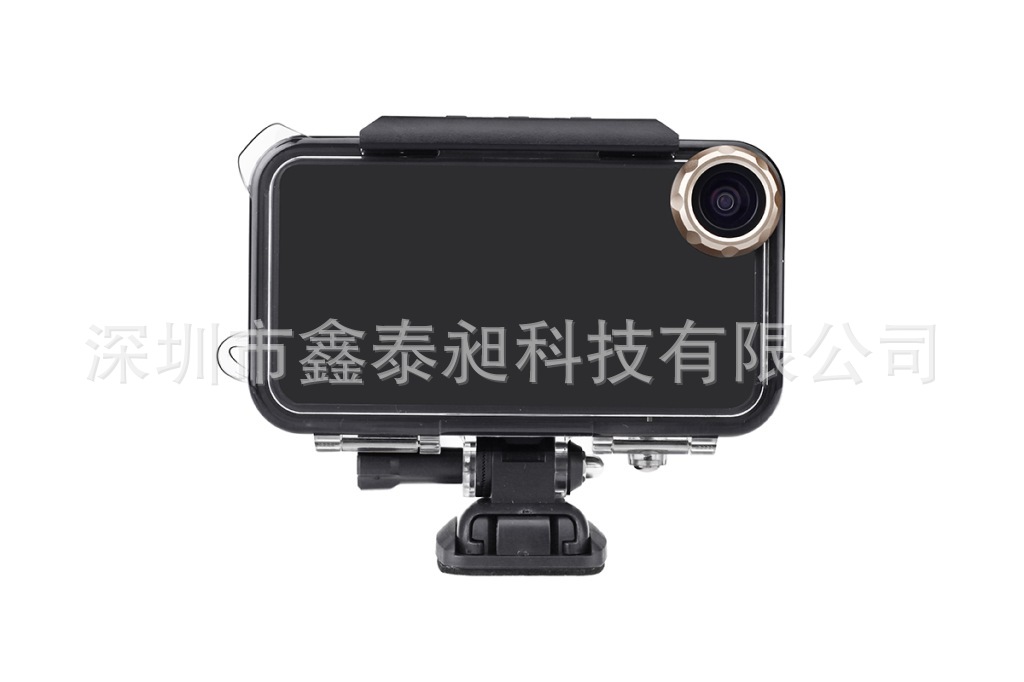
| 外型尺寸 | 13*8*3 |
| 颜色 | 黑色 |
| 品牌 | 中性 |
| 型号 | 4S+ |
| 材质:PC | 风格:运动 |
| 适用品牌:苹果 | 工艺:注塑/注射 |
| 外型尺寸:13*8*3 | 颜色:黑色 |
| 适用型号:4S+ |
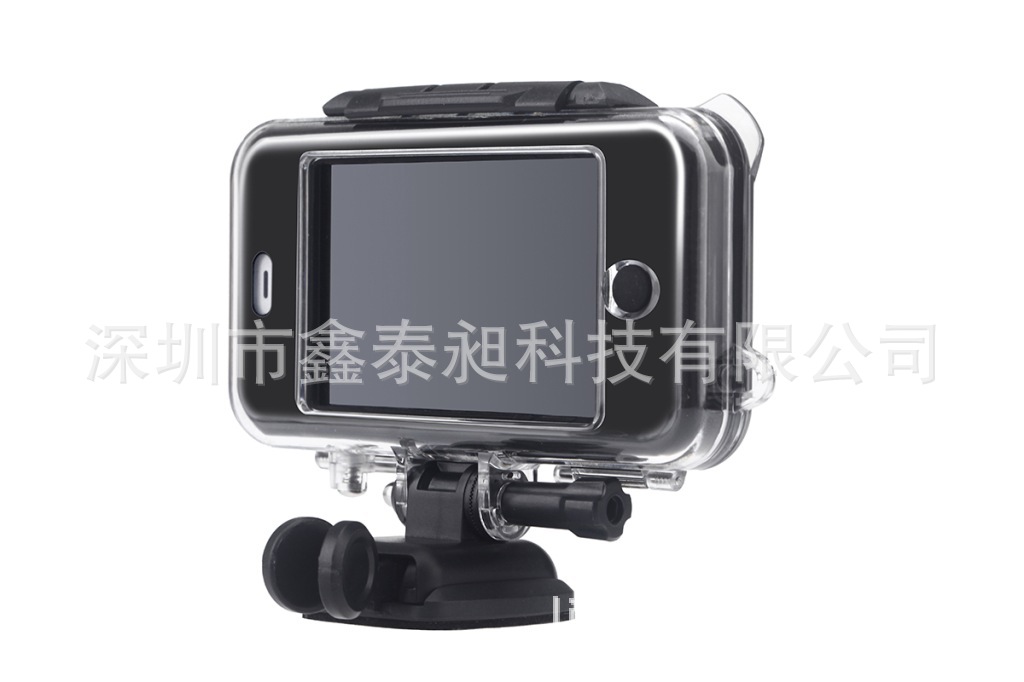
5S+ 4S+ 苹果防水运动配件
iphone4防水壳 iphone4s防水壳 iphone5防水壳 iphone5s防水壳
苹果防水壳
apple 防水
苹果防水运动DV
RD32
SJ4000
运动DV
运动摄像机
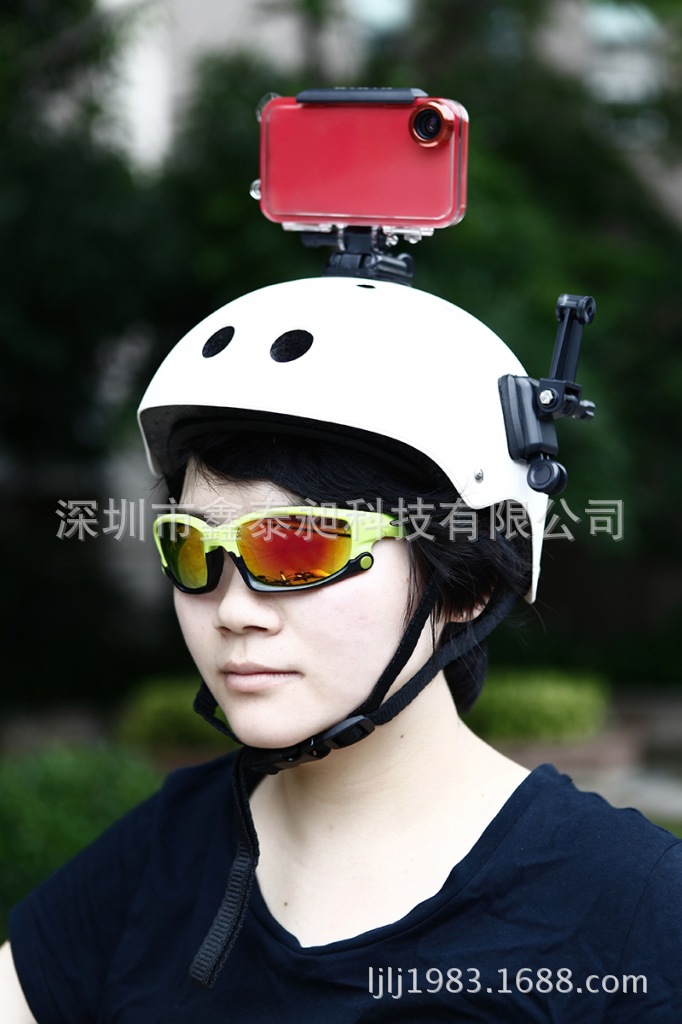
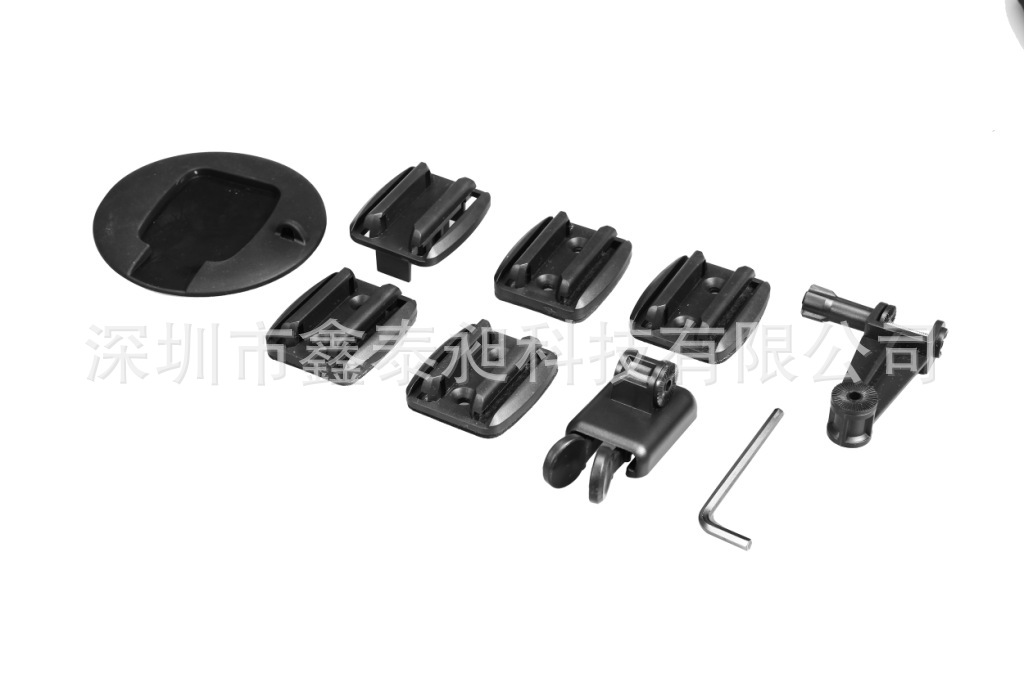
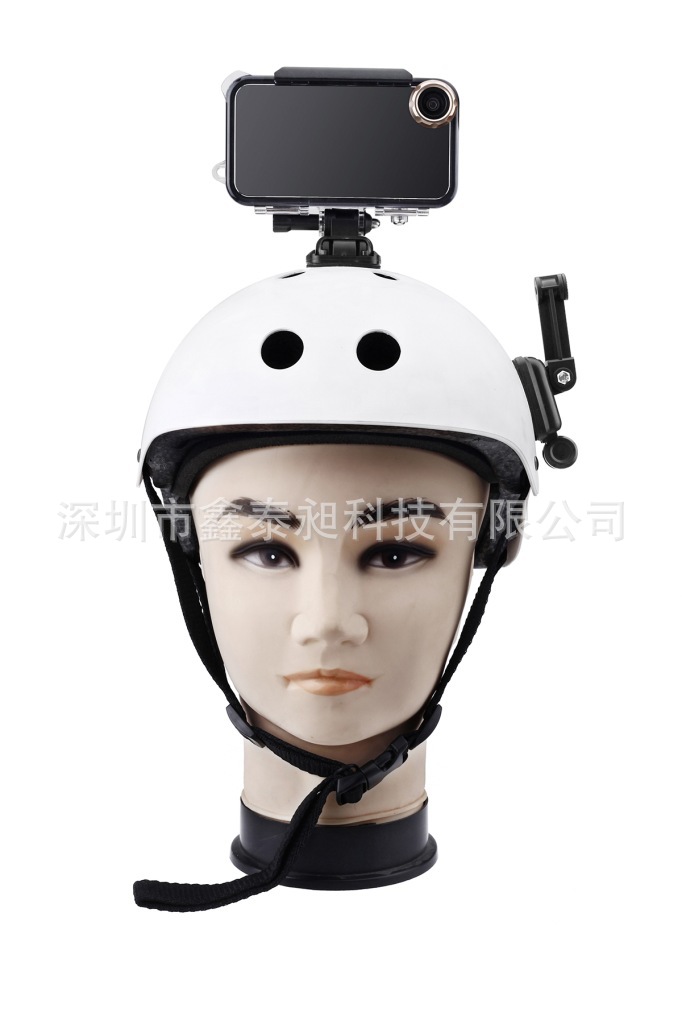
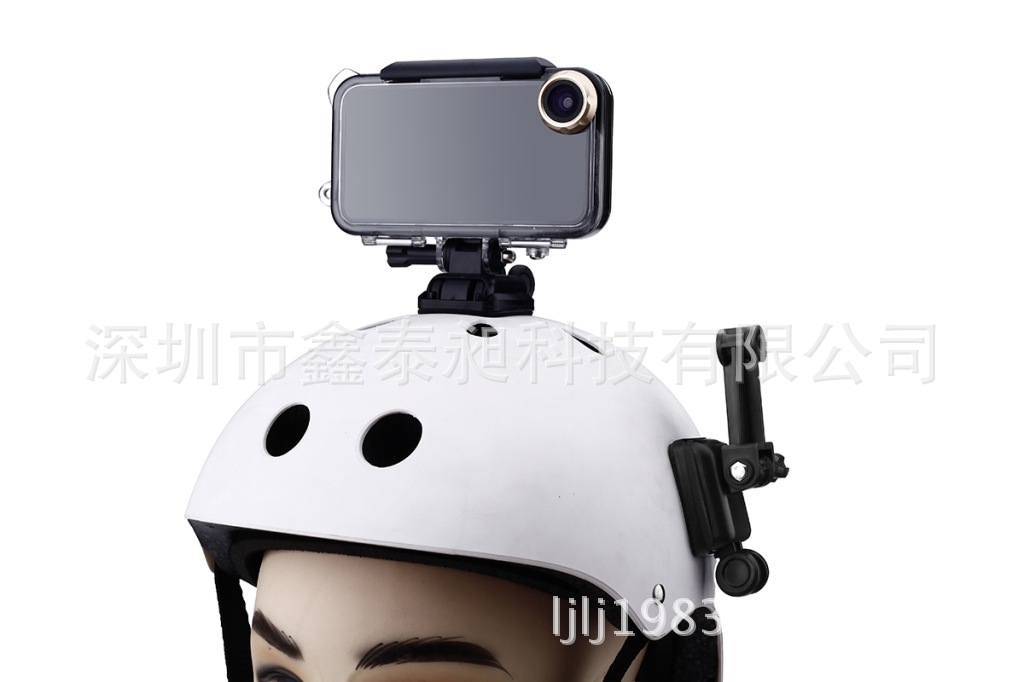
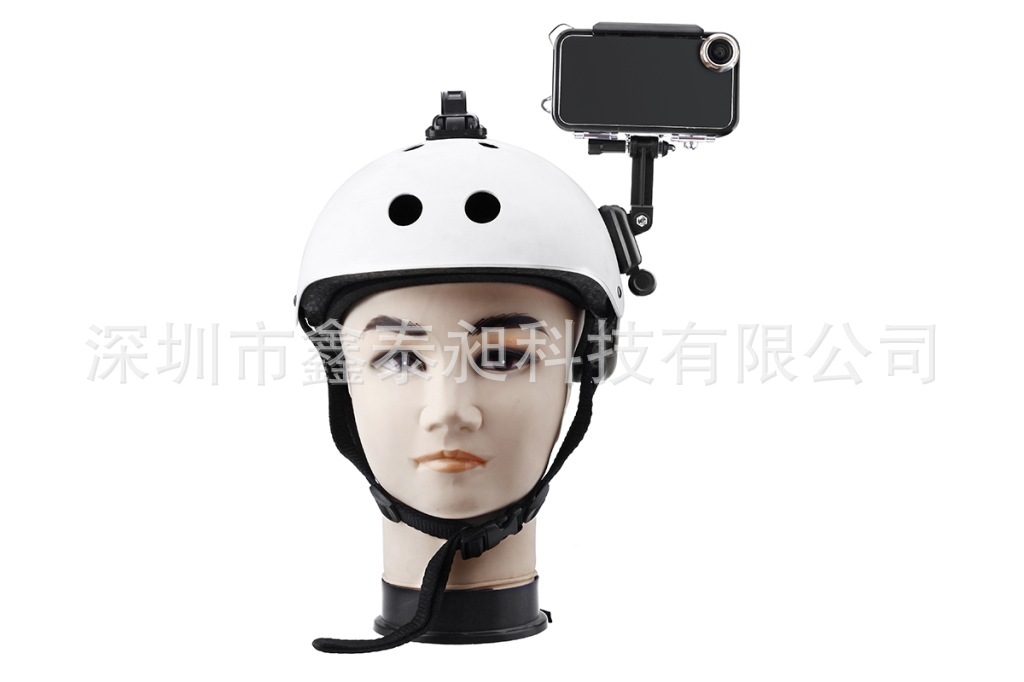
头盔 肩膀 粘贴 支架
1080P运动摄像机
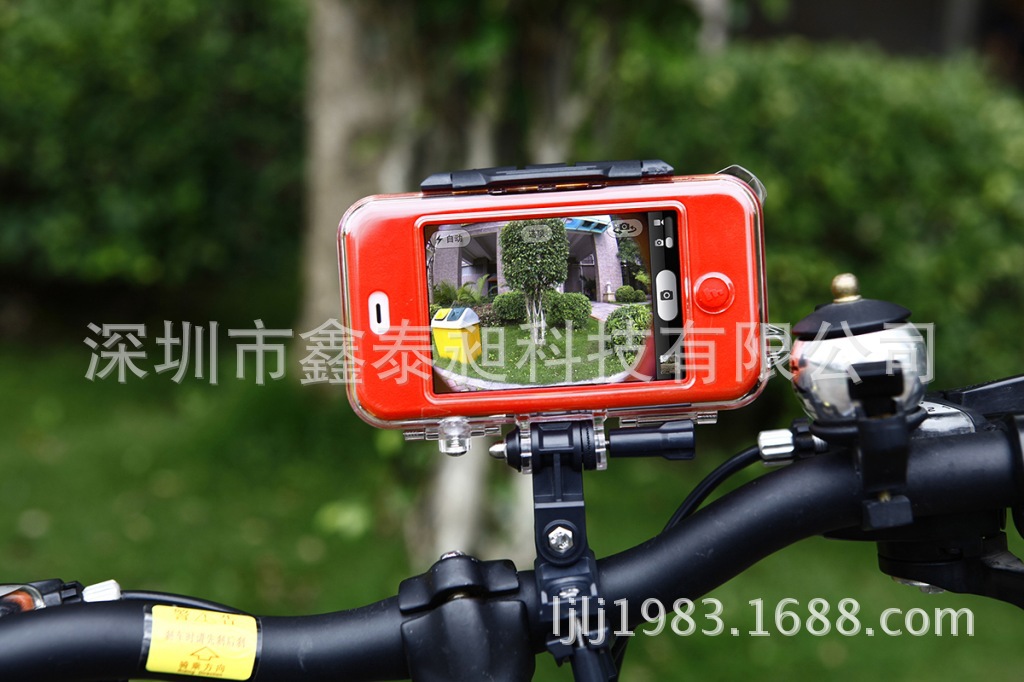
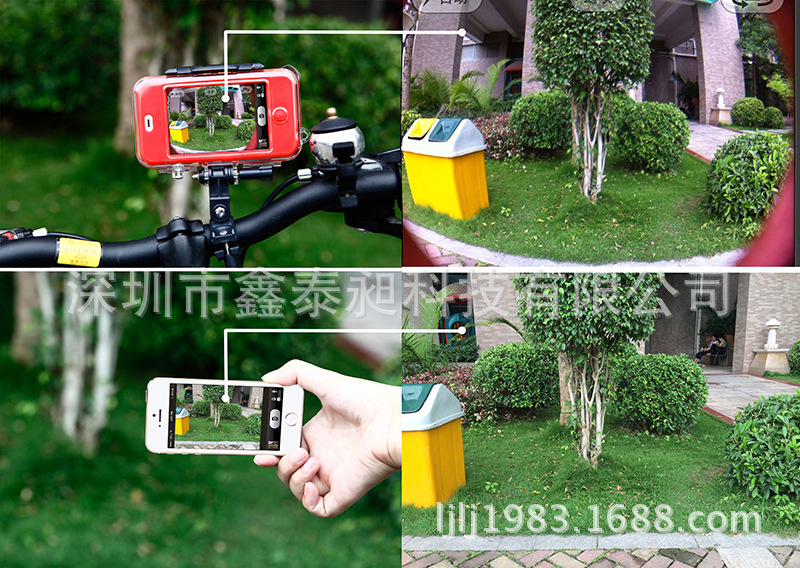
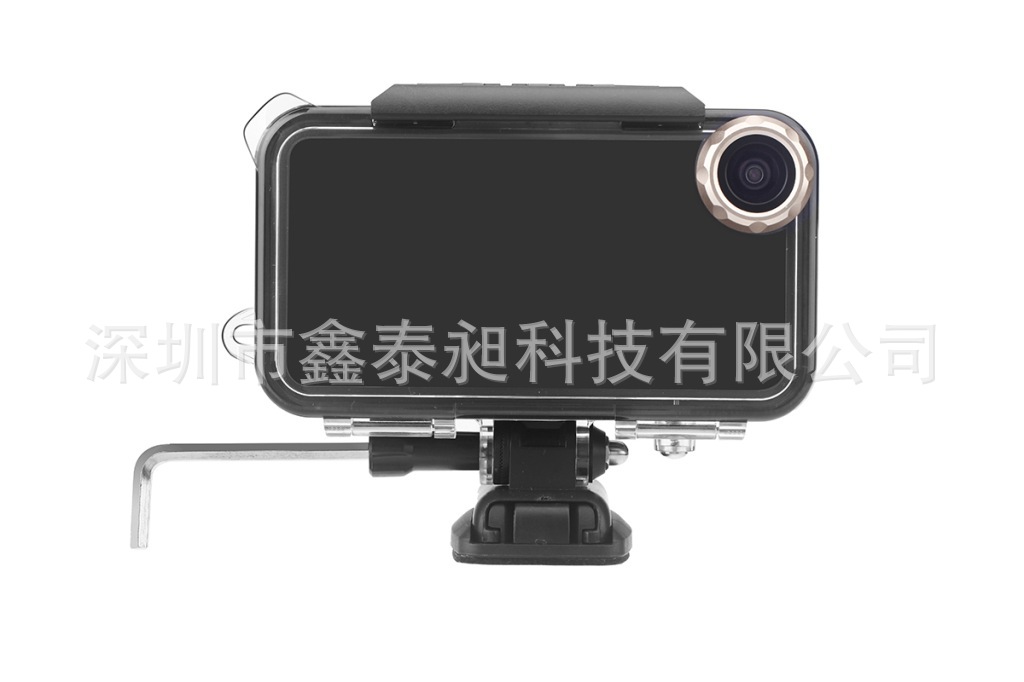
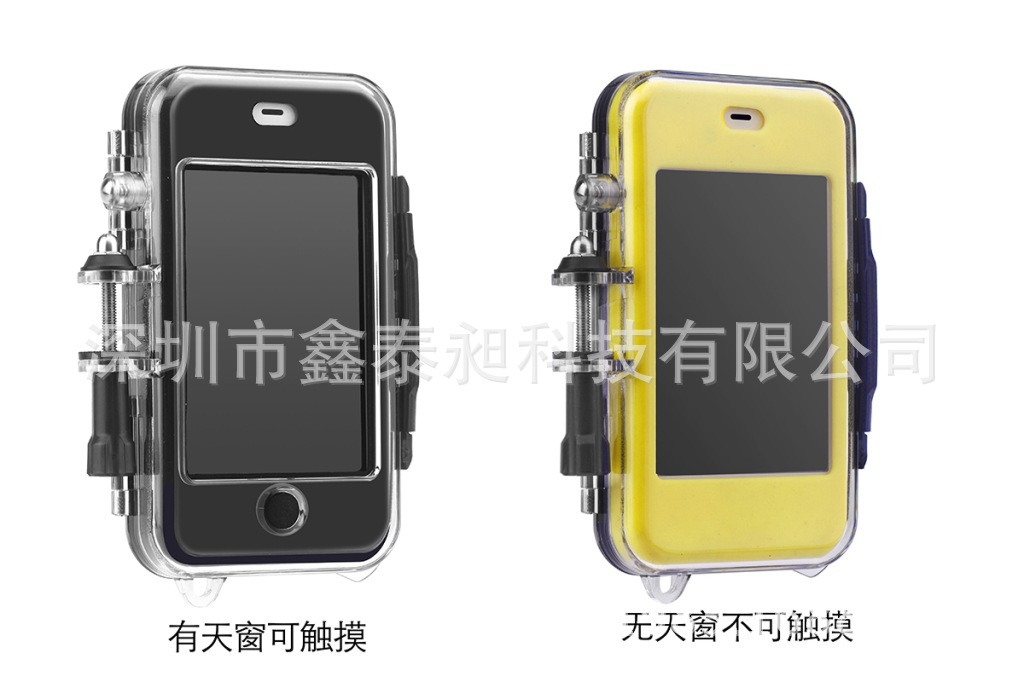
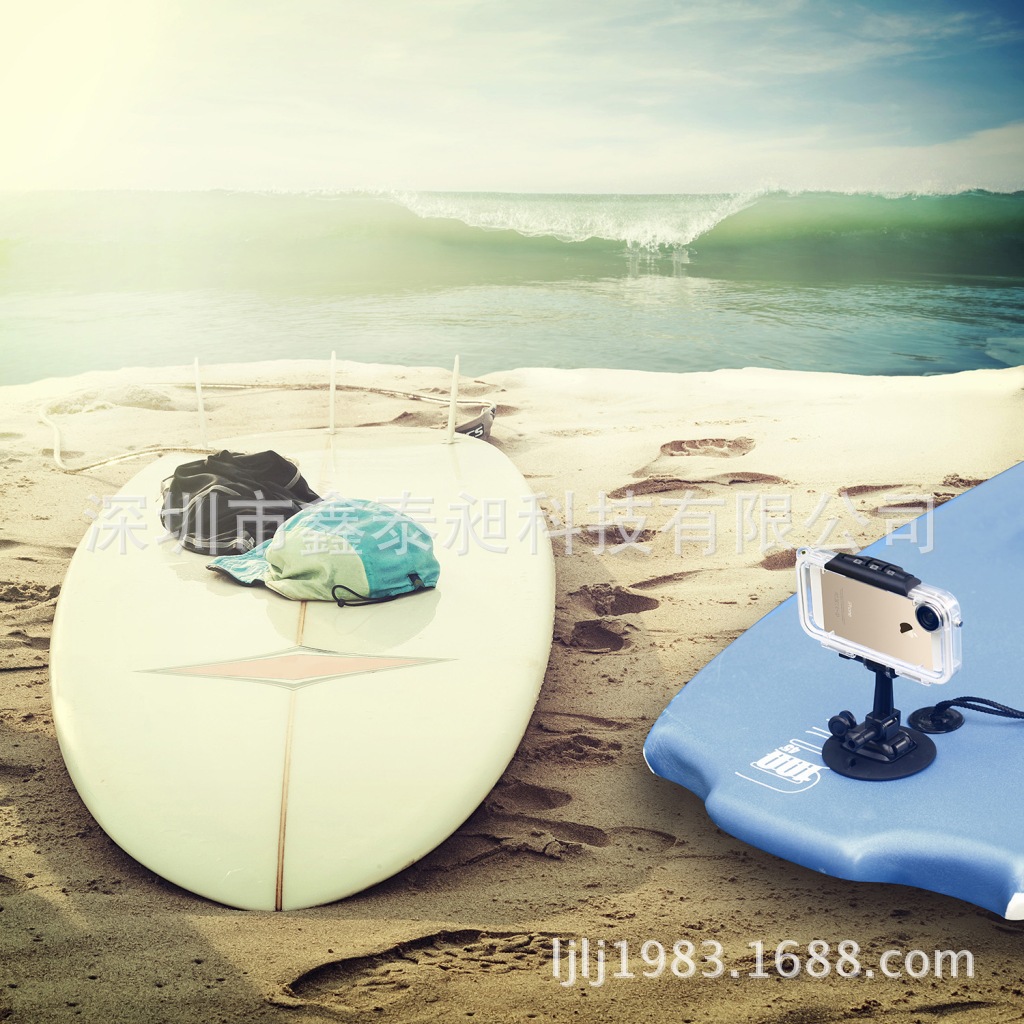
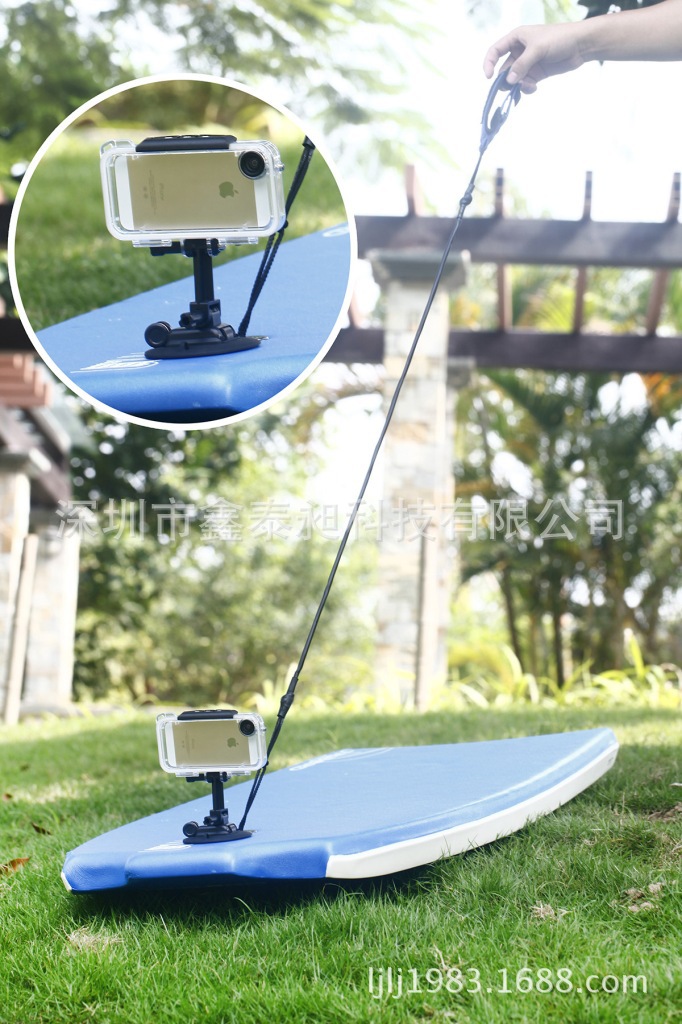
iphone 户外运动防水壳
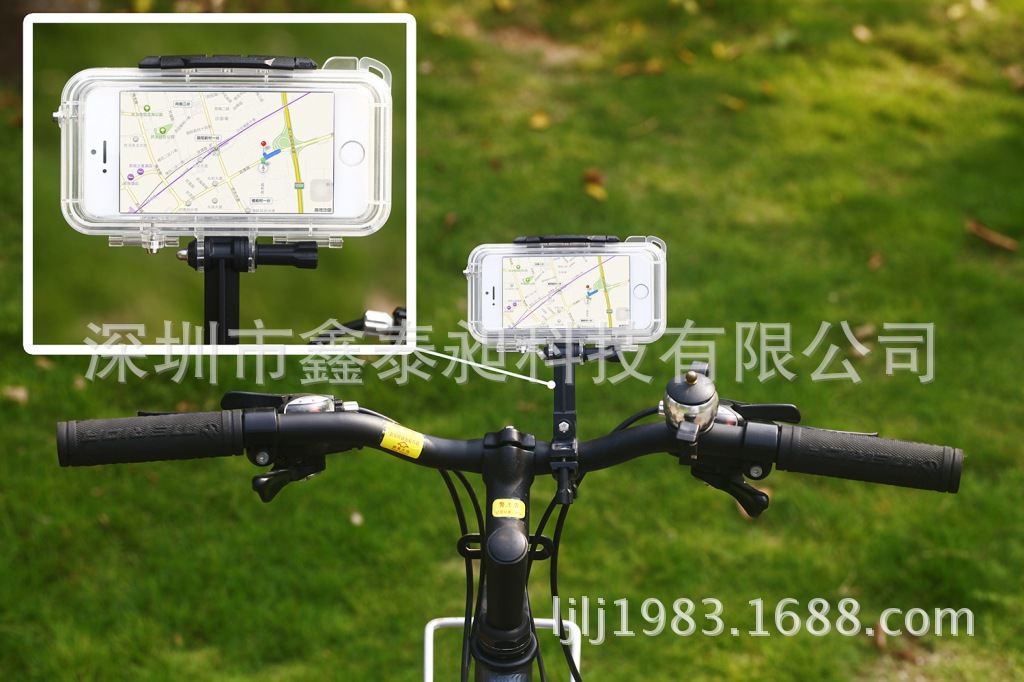
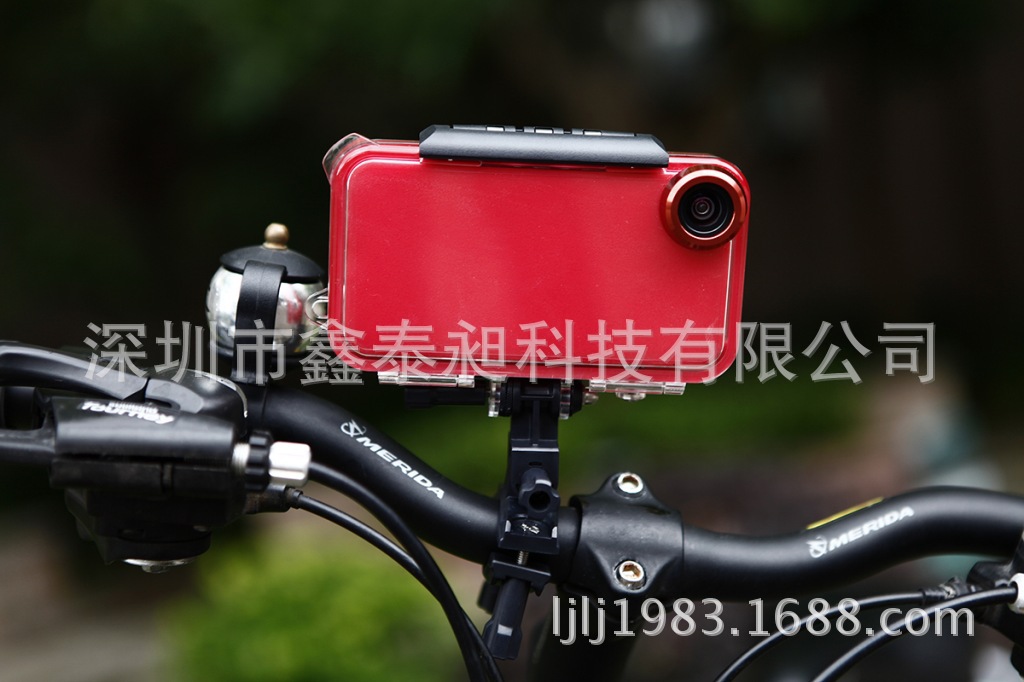
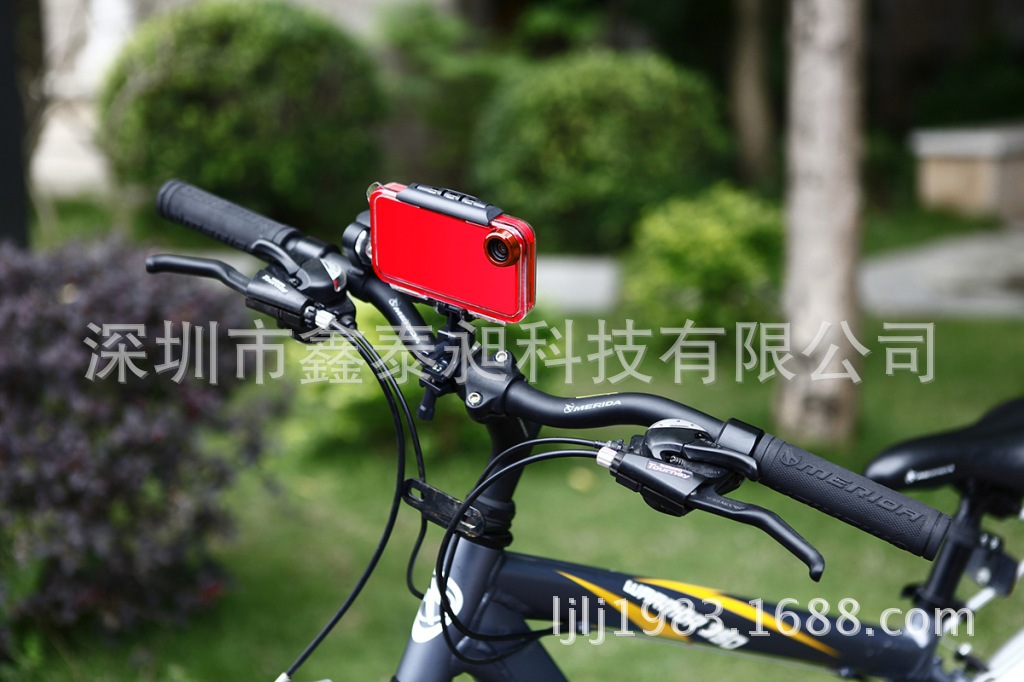
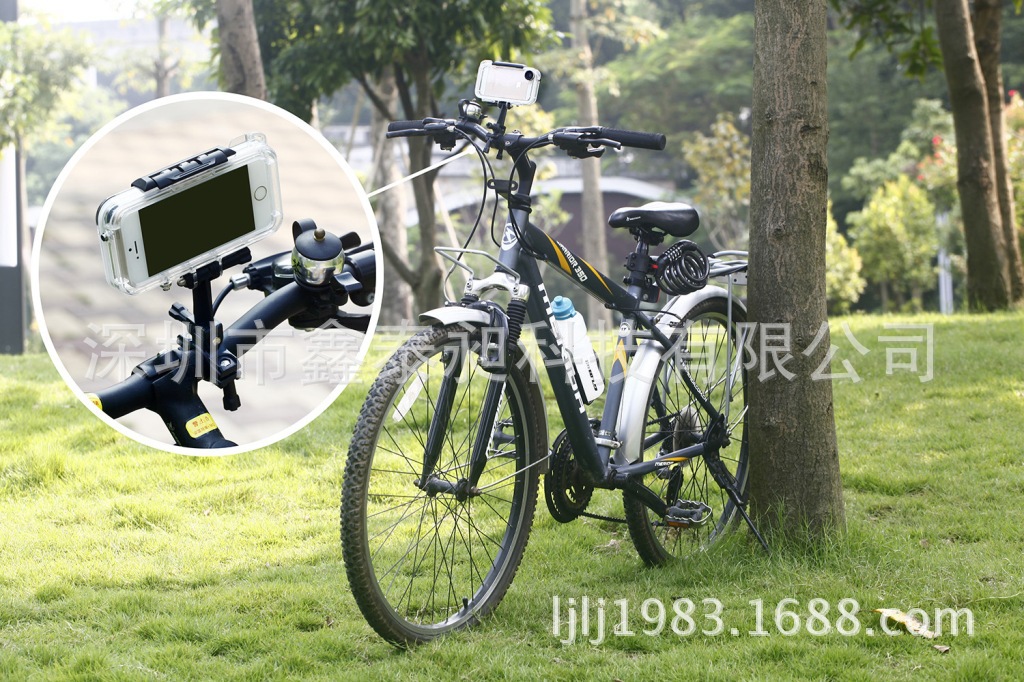
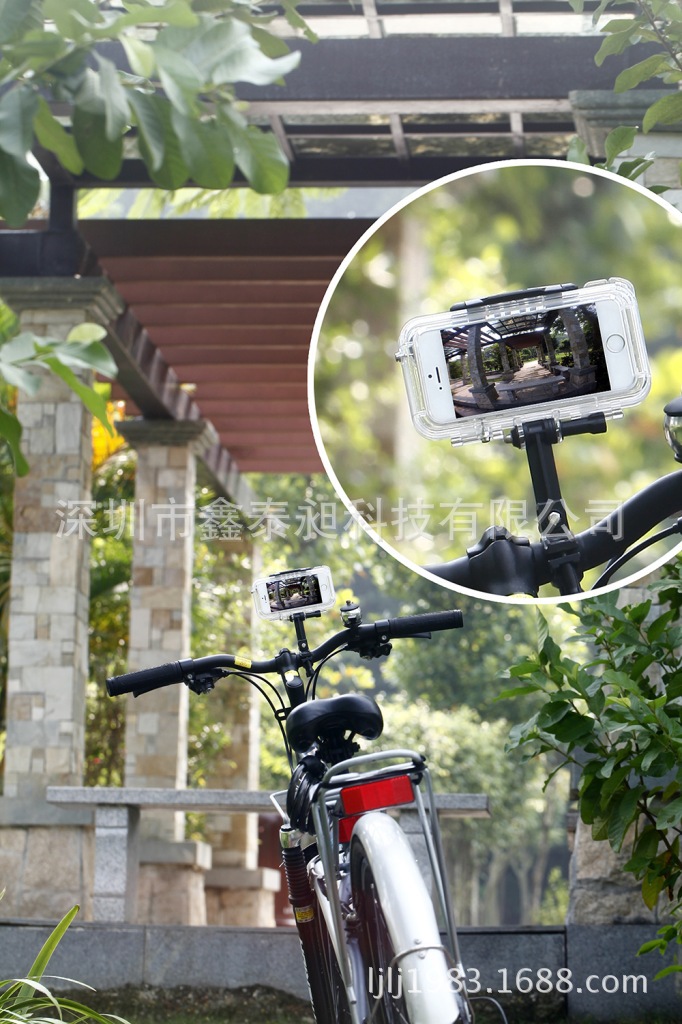
自行车 单车 摩托车 支架 导航
防水运动DV
胸带 背带 iphone配胸前 跳伞
苹果防水运动摄像机
潜水壳 深水
10米防水
A Couple Notes about Recording Video With Your Phone
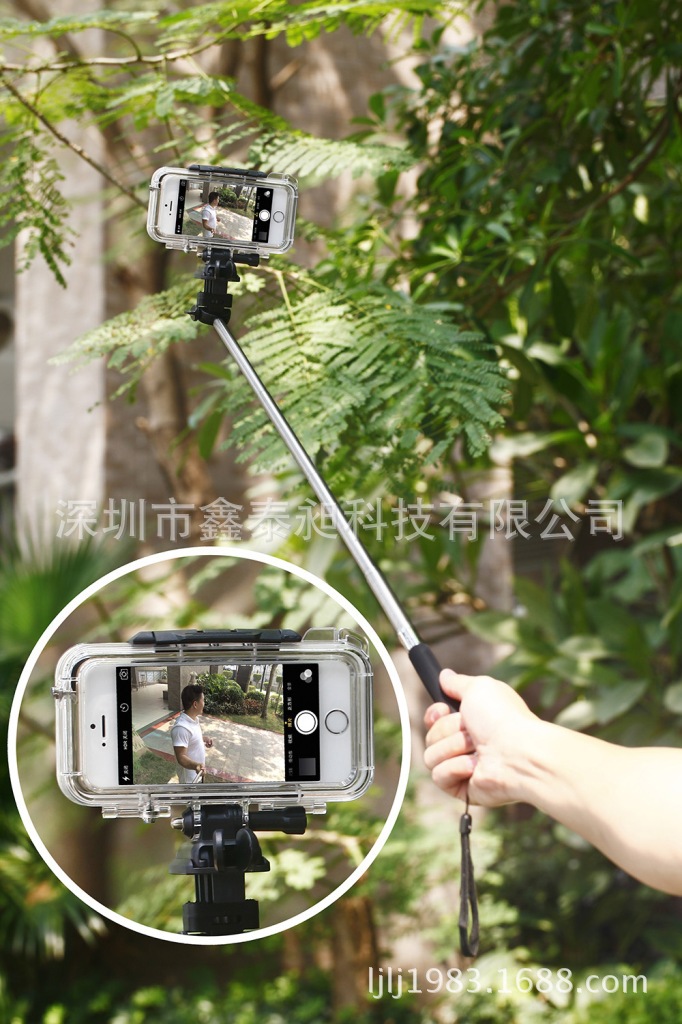
The iPhone has an amazing camera and is capable of capturing amazing video, especially when used with the multi kits.
• It’s easy to forget that it’s also a phone and designed to prioritize that functionality. If a call comes in while recording a video, the iPhone will automatically atop your recording to give you the opportunity to answer the call. This is a great feature for everyday use, but for capturing that epic downhill.., not so much. For this reason we recommend putting your iPhone into Airplane Mode before trying to record so that you can capture everything without interruption.
• Recording takes space, and depending on your capture setting...a lot of space. Make sure that you’ve got at least 4GB clear to avoid missing something epic.
• The iPhone’s microphone is behind a thick layer of polycarbonate when inside the multi kits.
You’ll notice that a fair amount of audio does get through, but it’s muted compared to recordings taken outside the case. You’ll also notice a reduction in wind noise at speed for the same reason. We think it’s a good balance and hope you agree.
Cleaning the Multi Kits
The multi kits keeps your iPhone safe from the elements, but needs your help to do so consistently. Please follow these tips to keep everything working well.
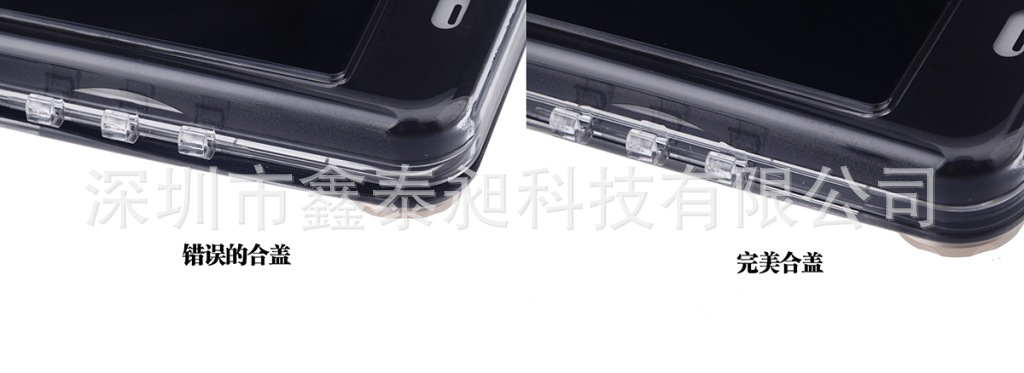
• The multi kits’ waterproof and dustproof seal is the key to protecting your Phone. Any dirt, grit, hair or other foreign item can keep the seal from working properly. Check it carefully before each use.
• After each salt-water use, the multi kits must be rinsed in fresh water to prevent corrosion to hinges and build up on the seal. For best results, remove the case seal, rinse the case and seal separately and allow both to dry before reinstalling.
• To remove the seal, gently pinch the exposed gasket from the edge of the front door between your thumb and forefinger and pull sideways away from the door.
• To install the seal, it’s easiest to remove the front door first. Place the gasket along the hinge side with the flat side down. Gently stretch each corner into place. Press and tuck the gasket firmly into place along all 4 sides and chase it with your fingernail if needed to ensure there are no gaps. It helps to chase each corner towards the center of each long side. Finish by closing the case and checking the fit.
• Don’t use any industrial cleaners to clean the multi kits. Fresh water should be enough for almost any scenario.
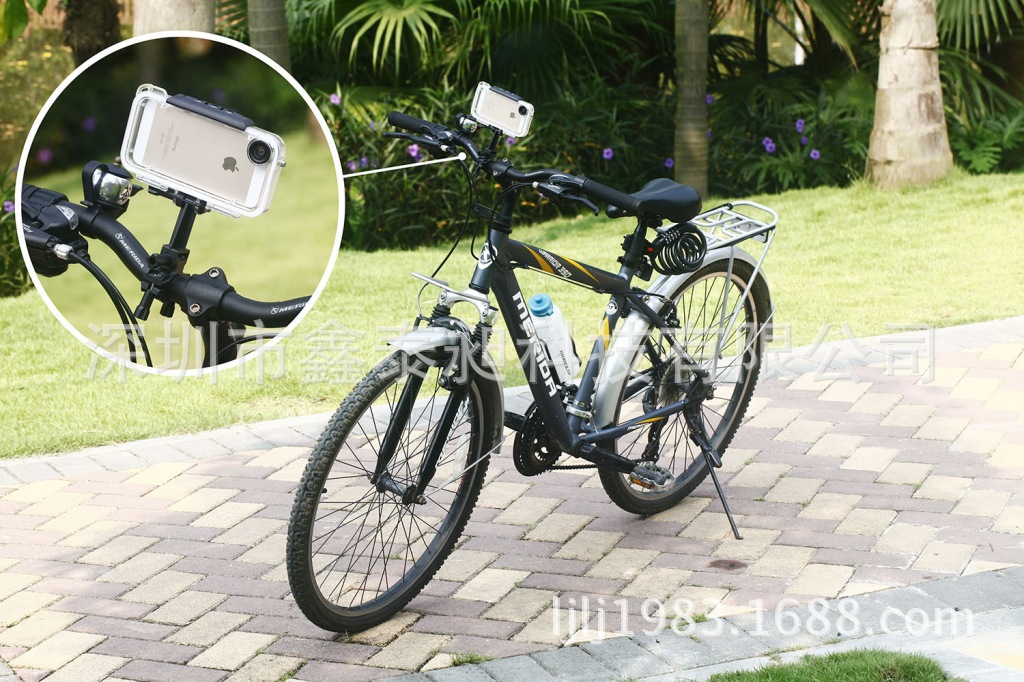
Cycle Mount Instructions

Mounting to Handlebar
Great for giving your viewers an idea of what you’re seeing.
1. Mount your multi kits to the top of the DogBone using the adjustment post knob that came with the multi kits. Use the hex wrench to tighten if needed.
2. Loosen the adjustment knobs at the bottom of the handlebar clamp until you can swing one side free through the open slot in the lower clamp.
3. Position the clamp on your handlebar where there is sufficient room for the clamp and your fingers for tightening the knobs.
4. Tighten the knobs until snug, then adjust the angle of the mounted DogBone extension using the adjustment knob at that joint
5. When everything is where you want it, go back and tighten all the knobs some wore.
6. Make sure to connect the leash to the multi kits and use the hook around the bar and back to the leash when riding.
Tips: Try pointing the handlebar clamp forward on the left side of your bike stew with the V DogBone aiming down. This hangs the multi kits upside down with the lens close to the centerline of your bike and keeps the multi kits out of your immediate vision.
• Try different positions to see what works best for avoiding excessive vibration during your riding and any suspension you may be running For best results, try to keep the multi kits clear of any cables that way rattle against it or appear in your shot.
Mounting to Seatpost
Face it backwards to see what you’re leaving behind, or maybe who’s right on your tail.
1. Remove the 1” DogBone extension by loosening and removing the adjustment knob and hex bolt at its base. Store these back in the case when not in use for safe keeping.
2. Mount your multi kits to the top of the Bar Mount using the adjustment post knob. Use the hex wrench to tighten if needed.
3. Loosen the adjustment knobs at the bottom of the handlebar clamp until you can swing one side free through the open slot in the lower clamp.
4. Position the clamp on your seat post where there is sufficient room for the clamp and your fingers for tightening the knobs.
5. Tighten the knobs until snug, then adjust the angle of the multi kits.
6. Make sure to connect the leash to the multi kits and use the hook around the post and back to the leash when riding.
Tips: Hang the multi kits upside down close to the underside of your seat. This should keep the multi kits out of the way of your legs. Make sure the multi kits is clear of any rear suspension travel. (just don’t get too far behind the saddle on those down hills)